Bootstrap Image Example
Introduction
Pick your pictures into responsive behavior ( therefore they definitely not become larger sized than their parent elements) and incorporate light-weight styles to all of them-- all by means of classes.
No matter exactly how efficient is the message display inside of our pages no doubt we are in need of a few as strong pictures to back it up getting the material actually glow. And since we are actually inside of the smart phones age we in addition need to have those images working out as needed to exhibit best at any screen scale due to the fact that no one wants pinching and panning around to become capable to actually discover just what a Bootstrap Image Template stands up to show.
The people responsible for the Bootstrap framework are completely aware of that and coming from its beginning the absolute most prominent responsive framework has been delivering effective and simple instruments for best visual appeal as well as responsive behavior of our illustration components. Listed here is just how it work out in current edition. (read this)
Differences and changes
Compared with its forerunner Bootstrap 3 the fourth version uses the class
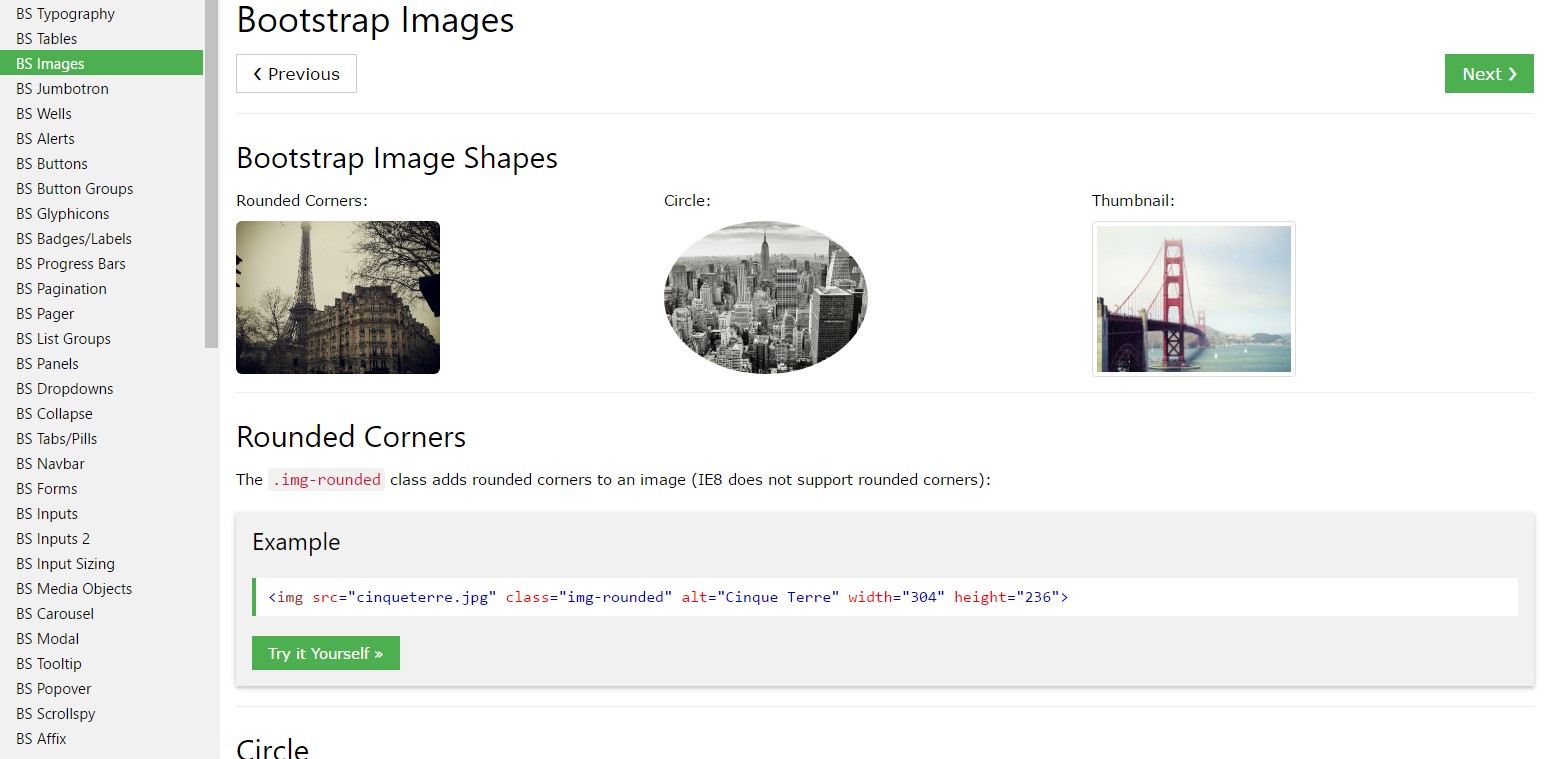
.img-fluid.img-responsive.img-fluid<div class="img"><img></div>You can additionally take advantage of the predefined styling classes establishing a certain image oval using the
.img-cicrle.img-thumbnail.img-roundedResponsive images
Illustrations in Bootstrap are created responsive utilizing
.img-fluidmax-width: 100%;height: auto;
<div class="img"><img src="..." class="img-fluid" alt="Responsive image"></div>SVG images and IE 9-10
In Internet Explorer 9-10, SVG pictures using
.img-fluidwidth: 100% \ 9Image thumbnails
Along with our border-radius utilities , you can certainly employ
.img-thumbnail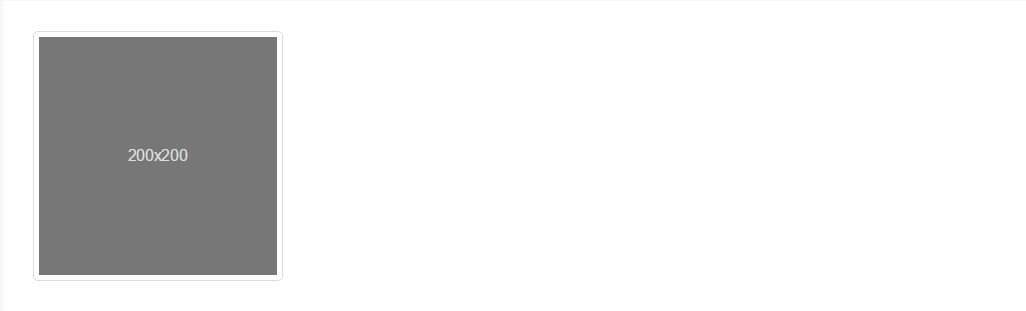
<div class="img"><img src="..." alt="..." class="img-thumbnail"></div>Aligning Bootstrap Image Placeholder
If it comes down to alignment you can easily use a couple of pretty efficient techniques like the responsive float assistants, content position utilities and the
.m-x. autoThe responsive float tools could be utilized to insert an responsive picture floating left or right and transform this placement baseding upon the dimensions of the present viewport.
This kind of classes have operated a few modifications-- from
.pull-left.pull-right.pull- ~ screen size ~ - left.pull- ~ screen size ~ - right.float-left.float-right.float-xs-left.float-xs-right-xs-.float- ~ screen sizes md and up ~ - lext/ rightFocusing the pictures within Bootstrap 3 used to happen using the
.center-block.m-x. auto.d-blockRegulate pictures utilizing the helper float classes or text arrangement classes.
block.mx-auto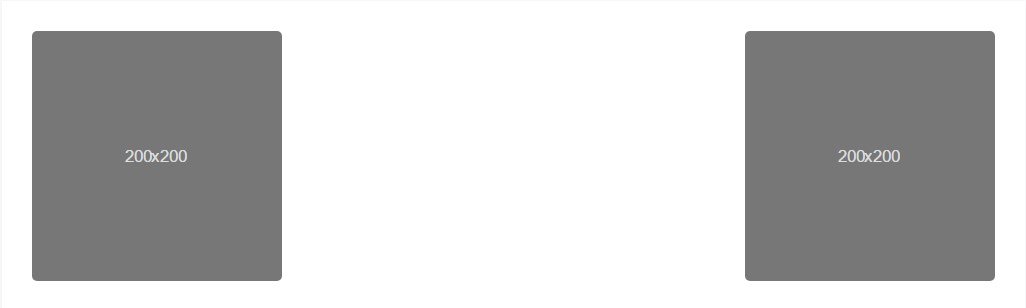
<div class="img"><img src="..." class="rounded float-left" alt="..."></div>
<div class="img"><img src="..." class="rounded float-right" alt="..."></div>
<div class="img"><img src="..." class="rounded mx-auto d-block" alt="..."></div>
<div class="text-center">
  <div class="img"><img src="..." class="rounded" alt="..."></div>
</div>
In addition the text message positioning utilities might be chosen applying the
.text- ~ screen size ~-left.text- ~ screen size ~ -right.text- ~ screen size ~ - center<div class="img"><img></div>-xs-.text-centerConclusions
Typically that's the technique you can add in simply a number of easy classes to obtain from standard images a responsive ones together with the current build of probably the most prominent framework for setting up mobile friendly web pages. Right now all that is certainly left for you is finding the correct ones.
Review several video tutorials relating to Bootstrap Images:
Connected topics:
Bootstrap images approved documentation
W3schools:Bootstrap image training
Bootstrap Image issue - no responsive.